Showing posts with label Lighting. Show all posts

Wednesday, December 25, 2013

LED lighting

Upper Level Layout Lighting

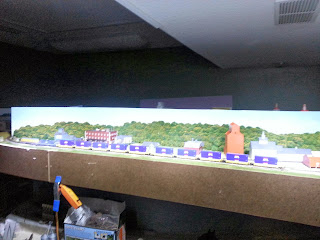
Pleasant Hill with just room lighting

Up until this point we really have not been worried about how to light the upper level of the layout, that is until it was built.  Now that we have a great deal of the trackwork down on the upper level we really needed to look at the lighting and figure out how to match it with the rest of the layout.... LED(heat, energy used, color temperature, cost, mounting...)  After doing a bit of research and experimenting with a few things here is what I have come up with . . .


As I have made a career out of entertainment lighting I knew what I was looking for, that I thought should be easy to mount to the ceiling, is directional, and can be fitted with and LED source.... welcome the ProCan MR16

It should be easy to mount to the ceiling, I could just use an MR16 LED source and then mount about 30 of them to the ceiling and run 12v around to them.  Wait . . . 30, these things are $30 dollars a piece, plus the cost of the MR16 LED.... there has to be another way.

I spent about an hour spent at the home supply store, MR16 lamp in hand, looking at anything that I thought might be able to work as a lighting fixture.  Finally I ended up with a PVC pipe parts in hand and some aluminum bar stock, something I could take home a try at least.  After experimenting with many different PVC pieces, I figure out that a 2" PVC coupler was going to work best for the job.  

Parts List;

2" PVC Couplers ($0.49)
MR16 LED (Amazon around $4.00)
Aluminum Bar Stock (4' makes 8 brackets for $0.75/bracket)
Nuts and Bolts ($0.50 per fixture)
MR16 ceramic housing ($0.65)

Total Price per fixture . . . . . . $6.39

There are more cost involved for cost of wire and connections between fixtures, but I was going to incur that cost anyway.


Here is the coupler and LED
Face of Fixture
One Fixture hung

Pleasant Hill LED Lighting, Room lights OFF
First 5 fixtures
Layout Lighting
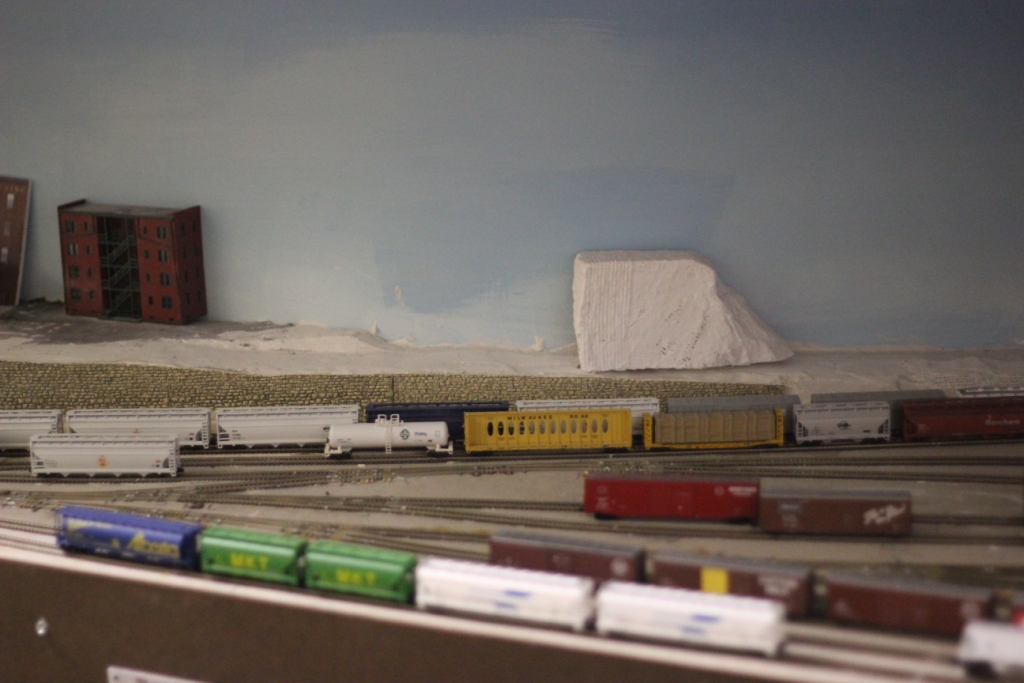
Close up of LED Lit Scene

Friday, May 31, 2013

LED Layout Lighting

It started with a discussion between my father and myself three years ago about whether or not it would be possible to use led lighting to light a layout efficiently. Through much experimentation with led options from suppliers I have worked with in the past for other projects, we finally found a solution that is effective for lighting they layout and remaining cost effective.

What we obtained was many 5 meter rolls of a Flexible SMD LED Tape with 5050 SMD LEDS on it in a daylight white.  There are many colors available and multiple color temperatures of white, we settled on the day light vs two other color temperatures because the others were more yellow or blue than we liked for the layout look.  SMD LEDs are also available in 3528s instead of the 5050, but only provide about 1/3 as many lumens, although the 3528 tape is going to work very well inside some of the buildings.


To install the LED Lighting I ran a 12v bus line around the top of the layout.  Now that I had the 12v power throughout the layout I began to plan how I would cut the LED tape to best cover the entire layout.  We decided that only applying the tape in straight lines vs attempting to follow the curves of the layout was the most effective way. We attached an 1/8" masonite hardboard stip to the framing for the upper level of the layout and applied the LED tape directly to the smooth side of the masonite. 


We applied a stip of the LEDs about 2" from the front of the layout and then a second strip about 6 inches from the back of the layout to give us the best coverage thoughout.  In some of the deeper areas of the layout we added a third strip in the middle.  In one of the pictures you can see another strip of the LEDs applied to the back side of the facia, These are an RGB version of the 5050 SMD LEDs that we have been experimenting with to add color differences to our backdrop to represent different times of day.  We are very happy with our current results and the LEDs have been installed now for almost 3 months with out any issues.


There are a few major benefits to LED lighting that led us to start experimenting with options;

Power - we are able to light our entire layout while only using less than 10 amps

Heat - while the traditional method of lighting for a layout has always been incandescent or fluorescent lighting, both methods produce a great deal of heat.  After hours of operation with the LEDs on at full, they are still cool to the touch, making it great for a room that has multiple bodies in it already to operate the layout.  We're happy to have to run the airconditioner a little less to keep the room comfortable.

Installation - installation was a breeze, we managed to put up lighting on the entire lower level in less that an hour.  The 12v power supply for the LEDs lives near our DCC command station and has 16g bus wires that run up behind the backdrop and around the layout.  To attach each strip of LED lights, I simply soldered on a couple feeder wire to the (+) and (-) pads on the strip itself and then use 3M "suitcase" connectors to attach them to the bus wires.